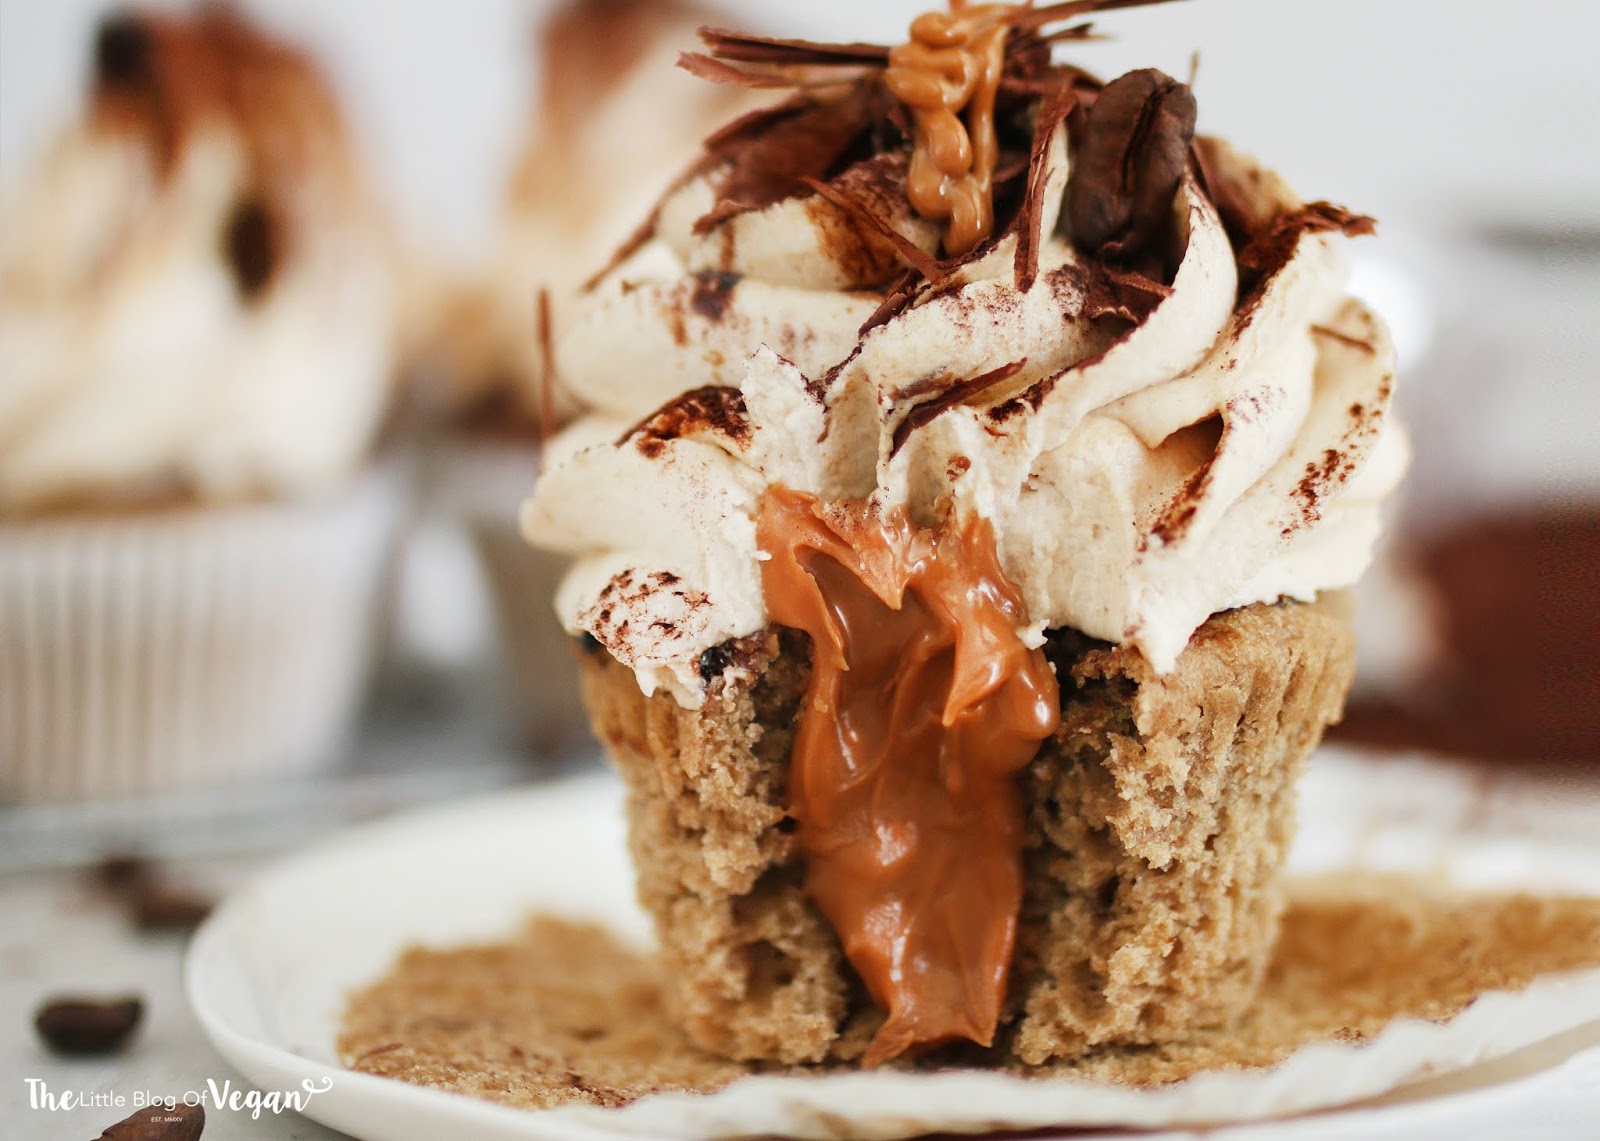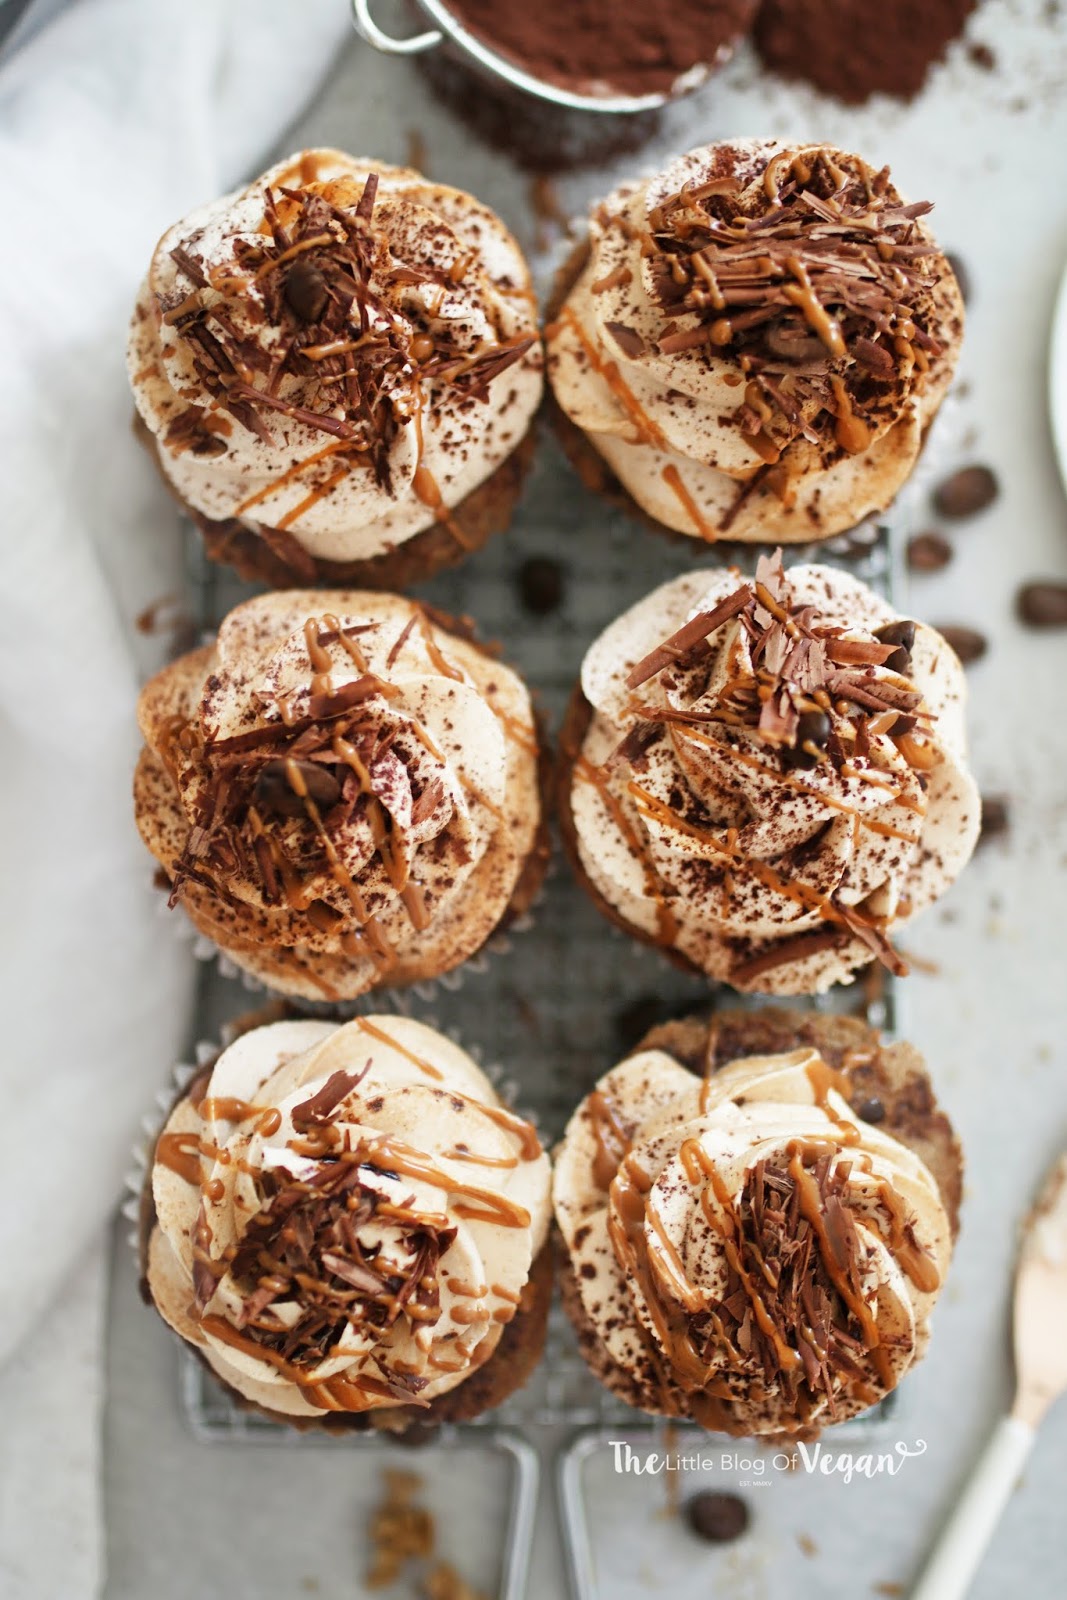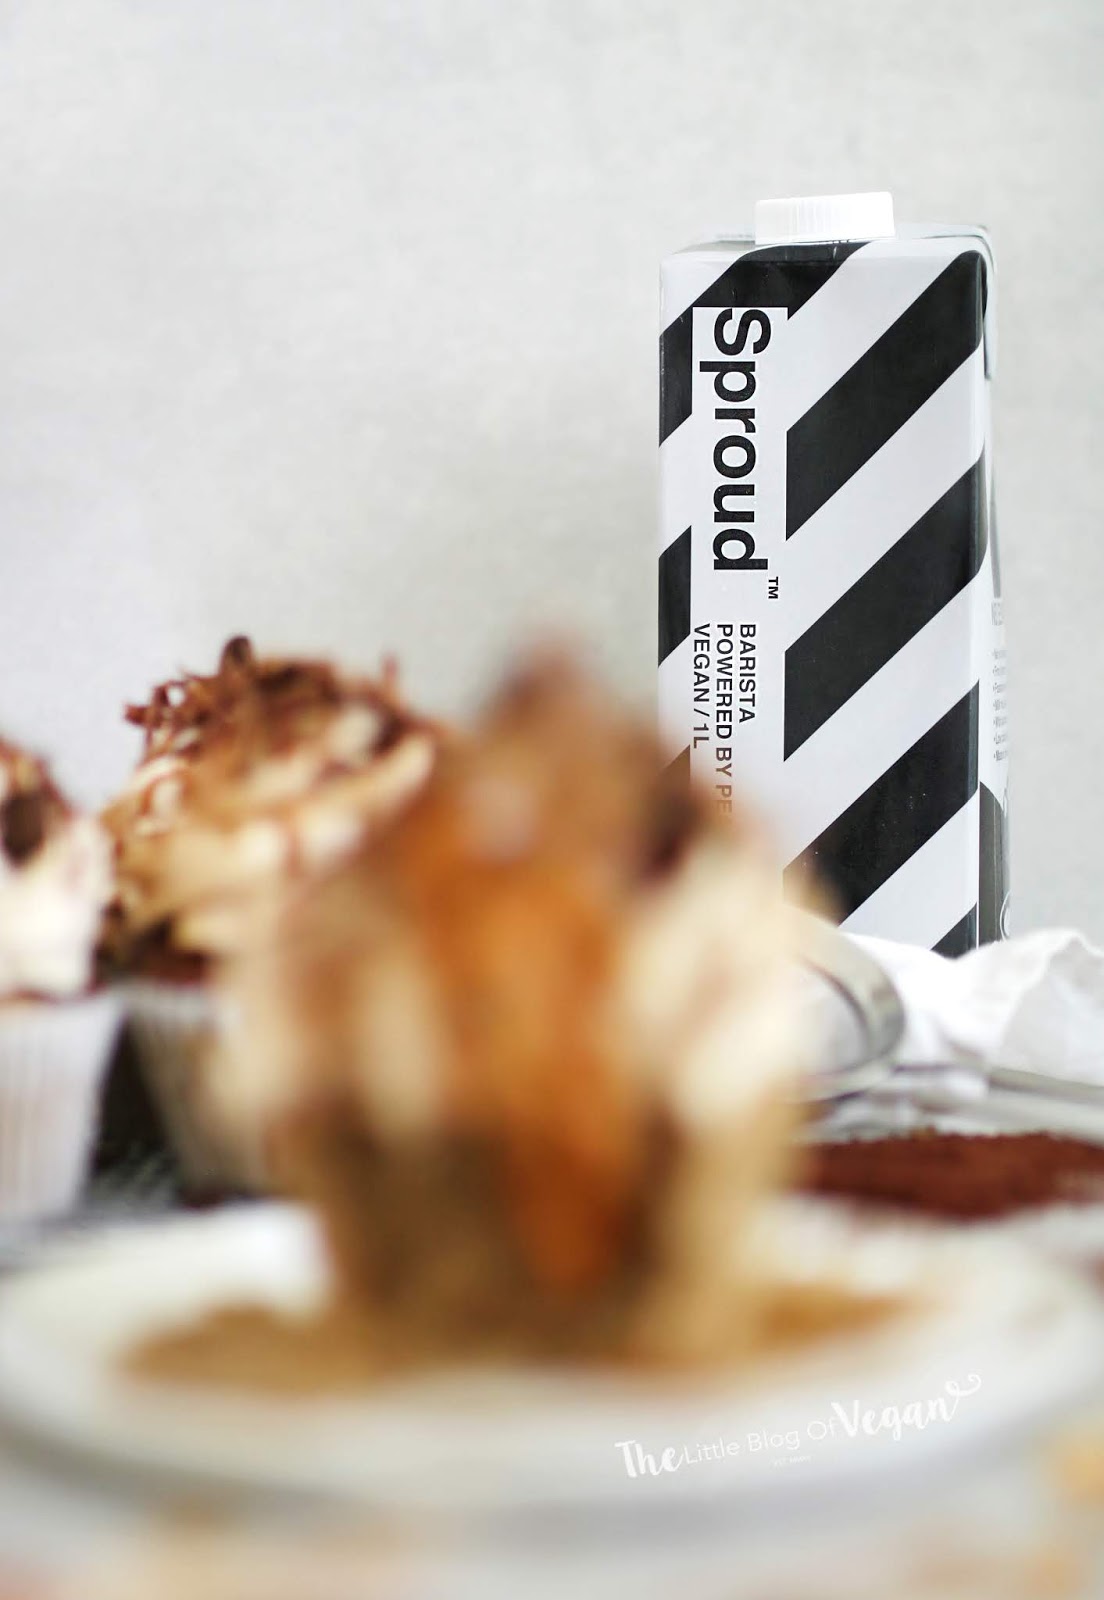
Vegan, easy.A fluffy coffee flavoured cupcakes, with a core of creamy biscoff spread, topped with a light espresso buttercream, decorated with dark chocolate, coffee beans and an extra drizzle of liquid gold…I mean biscoff spread- haha! This recipe is in collaboration with Sproud. A company that produces milk from peas, how amazing is that!The milk is gluten-free, GMO-free and contains no cholesterol or allergens.I have used the Barista milk in this cupcake recipe, as they are coffee-inspired, the combination works perfectly! The cakes are light and spongy. I love I filled the cupcakes with cookie butter as coffee & biscoff are a match made in heaven! Preparation- 40 minutesBaking time- 18-20 minutesMakes- Around 10Level- Easy…Ingredients for the cake-240ml of dairy-free milk (I use Sproud ‘Barista blend)-1 teaspoon of apple cider vinegar-210g of self-raising flour-1 teaspoon of coffee powder-100g of golden caster sugar-1/2 teaspoon of baking powder-1/2 teaspoon of bicarbonate of soda-60g of coconut oil (Melted)Ingredients for the buttercream-120g of dairy-free butter -350g of icing sugar-1 teaspoon of vanilla bean paste (you can use extract)-1 teaspoon of dairy-free milk (if needed)-1 tablespoon of brewed espressoIngredients for the core-Biscoff spread (cookie butter)Extras-Biscoff spread (cookie butter)-Chia seeds…To make the cupcakesStep 1- Preheat your oven to 180 degrees c and line a cupcake tin with cupcake cases.Step 2- In a small bowl, combine the dairy-free milk with the apple cider vinegar and whisk until fully combined.Set aside for 10 minutes to curdle. This creates a vegan ‘buttermilk’.Step 3- In a large mixing bowl, sift the flour, coffee powder, sugar, baking powder and bicarbonate of soda.Mix well to combine.Step 4- Add the melted coconut oil to the ‘buttermilk’ and whisk to combine.Step 5- Add the wet ingredients into the dry and mix until a smooth batter.Step 6- Fill the cases 3/4 full with the delicious batter.Make sure to tap the tins on the worktop to remove any air bubbles.Step 7- Sprinkle biscoff cookies over each cupcake (optional)Step 8- Pop the cakes into the preheated oven and bake for 18-20 minutes.You will know they are done when you put a knife or skewer in and it comes out clean and they are springy to the touch.Step 9- Place the cupcakes on a cooling rack and allow to cool fully. Once cool, pop them into a sealed container to keep them fresh before frosting.Fill the core (optional)Step 1- Using an apple corer, core the middle of the cupcakes.Step 3- Add biscoff spread into a piping bag and pipe some into each cupcake.To make the frostingStep 1- Cream the butter in a bowl, on high speed until creamy. I use my stand mixer with the balloon whisk attachment.Step 2- When your butter/margarine is creamy & light in colour, add in the icing sugar, vanilla bean paste/extract and brewed coffee.Whizz together until fluffy & fully combined.Add a splash of dairy-milk if the buttercream is too thick, or more icing sugar if its too soft.Step 3- Transfer the buttercream into a piping bag fitted with an open star tip nozzle.Step 4- Pipe a swirl of buttercream onto each cupcake.To decorate, I melted biscoff spread and drizzled it over the cupcakes, along with some grated dark chocolate and coffee beans.Serve these cupcakes fresh or store in a sealed container in or out of the fridge, the buttercream will firm up at room temperature. Best eaten within a few days….Shop the whole ‘Sproud’ range here.This is a paid collaboration with Sproud. A huge thank you to Sproud for collabing on this recipe with me!Discover Sproud on social mediaInstagram- https://www.instagram.com/besproud/Facebook- https://www.facebook.com/besproud.uk/Make sure you follow me on my social mediaMy Instagram- https://www.instagram.com/thelittleblogofvegan/Facebook- https://www.facebook.com/littleblogofvegan/Twitter- https://twitter.com/BlogofVeganI would love to see your take on my recipes. Tag me on social media using the hashtag #Blogofvegan #thelittleblogofvegan All of my social media links are in the side bar…come and say Hi :)Share and follow me for more yummy posts to come!